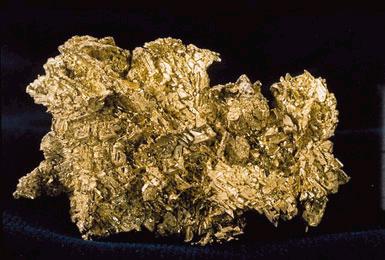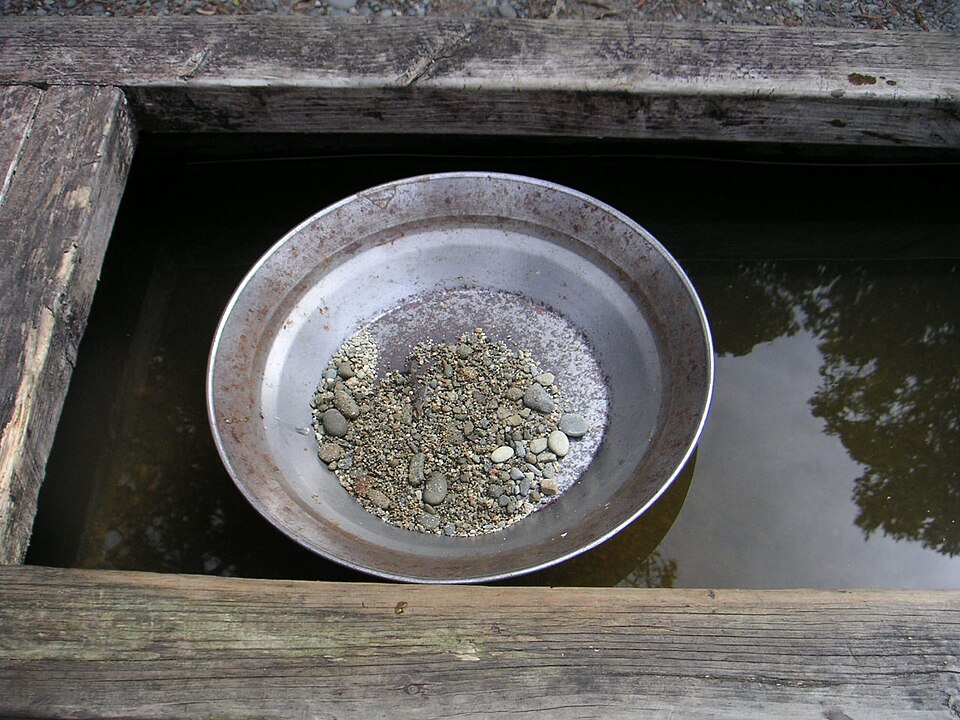
Few weekend outdoor hobbies in East Tennessee combine mountain scenery, geology, and hands-on treasure hunting quite like recreational gold panning. Just over an hour south of downtown Knoxville in the Unicoi Mountains of Monroe County—where Tennessee's earliest gold rush began along Coker Creek in 1827—mountain streams still carry real alluvial placer gold eroded from ancient Precambrian quartz veins.
However, East Tennessee gold is primarily fine flake, "flour," and picker-sized gold rather than thumb-sized California nuggets. If you use sloppy panning technique—or dump unscreened rocks straight into a flat pan—you will wash 80% of your fine Tennessee gold right back into the creek. Here is the exact 6-step field technique used by seasoned Appalachian prospectors.
Step 1: "Season" Your New Polypropylene Gold Pan Before Your Trip
When you buy a new 14-inch green or black riffled gravity-trap gold pan (such as the industry-standard Garrett Deluxe Gold Panning Kit), the molded plastic arrives from the factory with a microscopic release-oil film. If you take a brand-new, slick plastic pan straight to a creek, water beads up on the plastic and tiny flakes of gold can float on surface tension.
- How to Season a Pan: Grab a handful of fine gritty creek sand (or kitchen scouring powder like Comet/Barkeeper's Friend at home) and scrub the entire inside floor and riffles of the pan for three minutes with a stiff sponge. This creates microscopic texture on the plastic that breaks water surface tension and helps hold fine black sand and gold.
Heading to the Cherokee National Forest or Coker Creek? Pack a U.S. Forest Service Class 1 compliant hand-panning kit: the Garrett Deluxe Gold Panning & Classifier Kit, a Stainless Bedrock Crevicing & Snuffer Bottle Kit for cleaning slate cracks, and a Plunger Black Sand Magnet.
Step 2: Classify Your Stream Gravel First
Set a 14-inch mesh classifier sieve directly over the top of a 14-inch gold pan or a 5-gallon bucket. Shovel gravel dug from an inside creek bend, behind a large boulder, or out of a slate bedrock crevice into the classifier, submerge the rim in the stream, and shake until all fine sand and small pebbles drop through into your pan below. Toss the oversized rocks back into the hole you dug.
Why does classifying matter so much in East Tennessee? When everything in your pan is uniform in size (smaller than 1/4 inch or 1/2 inch), water density sorting works purely on specific gravity rather than rock size.
Step 3: Submerge and Shake Vigorously ("Stratification")
This is the step where 90% of beginners rush and lose their gold. Hold your pan completely underwater by both edges—keep the pan level (do not tilt it forward yet!)—and shake it rapidly side-to-side and front-to-back for a full 15 to 20 seconds.
- While you shake the pan underwater, the gravel liquefies into a suspension.
- Because gold has a specific gravity of 16.5 to 19.3 g/cm³ (compared to 2.65 g/cm³ for quartz sand and 5.17 g/cm³ for black magnetite sand), every spec of gold sinks straight through the fluidized sand to rest against the bottom crease of the pan.
| Material in Your Pan | Specific Gravity (g/cm³) | Where It Settles During Wet Stratification |
|---|---|---|
| Organic silt, leaves & roots | 1.0 – 1.4 | Floats off immediately upon submerging |
| Quartz sand, slate & granite pebbles | 2.60 – 2.75 | Top layer — washed over the riffles first |
| Red garnets & iron pyrite | 3.80 – 5.00 | Middle layer — hangs behind the deep riffles |
| Black sand (Magnetite & Ilmenite) | 4.70 – 5.20 | Bottom heavy concentrate layer |
| Natural Appalachian Placer Gold | 16.50 – 19.30 | Pinned tightly to the bottom crease of the pan |
Step 4: Tilt Forward Over the Riffles and Wash Off the "Blonde" Gravel
Once stratified, tilt the riffled side of your pan forward at roughly a 30- to 40-degree angle just beneath the surface of the creek. Dip the front lip into the water and pull back gently in a smooth wave motion so water washes the top layer of light-colored ("blonde") quartz sand and slate pebbles out over the riffles.
The Golden Rule of Panning: After every 3 or 4 forward washes, level the pan back out underwater and give it 5 seconds of vigorous side-to-side shaking to re-settle the gold to the bottom before tilting and washing again! Repeat this cycle ("shake-settle, tilt-wash") until only a couple of tablespoons of dark, heavy black sand concentrates remain in the bottom crease of your pan.
Step 5: The Final Swirl and Snuffer Bottle Recovery
With half an inch of clear water in the pan, tilt the pan slightly toward you and swirl the water in a gentle circular motion over the black sand tail. The black magnetite sand (specific gravity ~5.2) will move ahead of the water swirl, leaving bright yellow specs and flakes of heavy gold (specific gravity ~18) gleaming at the very tip ("head") of the black sand tail.
Instead of trying to pinch wet microscopic flakes with your fingers (where skin oils make gold stick and drop back into the sand), squeeze a plastic snuffer bottle, place the tube tip directly over each gold flake underwater, and release to vacuum the gold safely into the bottle. Before heading out, review our Weekend Gold Panning & Camping Trip Guide from Knoxville and our Where to Pan for Gold in East Tennessee directory.